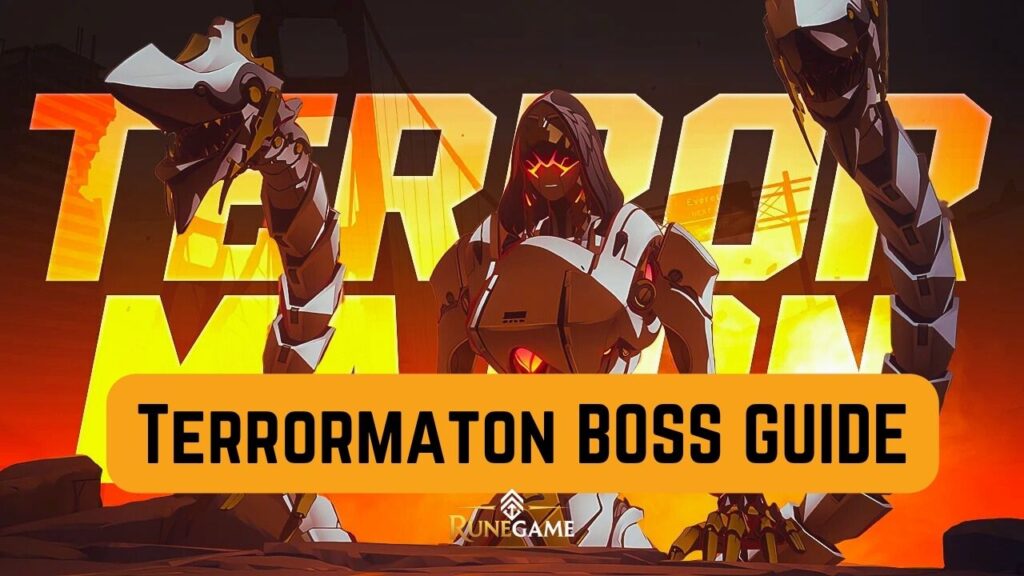
Terrormaton is one of the three core Threshold bosses in Etheria: Restart, a mode designed for farming powerful Modules. With escalating mechanics across difficulty levels, this Hollow-element boss poses significant challenges—especially on Hell and Inferno difficulties. In this guide, we’ll break down how to counter Terrormaton’s deadly skills, build optimal teams for early, mid, and late game, and offer strategies to farm it efficiently for top-tier gear.
Terrormaton Overview
- Element: Hollow
- Weak Against: Reason (Red)
- Strong Against: Odd (Blue)
- Primary Role: AoE nuker with buff support from beast heads
- Challenge Mode: Threshold (Normal to Inferno difficulties)
Difficulty Scaling
- Hell I+: +30% DMG to Odd Element, -30% Turn Meter effects
- Inferno: +200% DMG to Odd Element, Turn Meter effects reduced by 60%, Gains 3-turn Immunity at battle start
Terrormaton appears in the Threshold mode, which is focused on farming Modules. This boss can be fought on five difficulty tiers: Normal, Hard, Nightmare, Hell, and Inferno. As players advance through these difficulties, Terrormaton’s mechanics become more punishing. On Hell I difficulty, he deals 30% increased damage to Odd element units and reduces all Turn Meter effects by 30%. At Inferno, the punishment becomes severe: Odd-element Animus take 200% increased damage, and Turn Meter effects are reduced by 60%. Additionally, Terrormaton starts the battle with a 3-turn Immunity buff, making early dispels essential.
Terrormaton Skills and How to Counter Them
Terrormaton’s kit is built around massive AoE damage, self-buffing, and punishing mechanics that require both strategic planning and proper team composition.
Scorched Earth – AoE Damage & Turn Meter Control
This ability deals 450% AoE damage with a 70% chance to reduce each enemy’s Turn Meter by 30% and apply a 1-turn [SPD-] debuff. This makes it harder for your team to act quickly, allowing Terrormaton to maintain tempo.
Counter Strategy: Bring units with [SPD+] buffs such as Lily, and equip Modules with Effect RES sub-stats to reduce debuff application. Shields from characters like Mia or Valerian can also mitigate incoming damage effectively.
Reconstructive Strike – Buffing Attack and Follow-ups
This attack inflicts 600% AoE damage and permanently increases Terrormaton’s ATK by 30%. Surviving beast heads will follow up by targeting the enemy with the lowest HP percentage, dealing an additional 360% damage.
Counter Strategy: High sustain is crucial. Consider bringing units with consistent shielding and healing, such as Sania (Healer variant), Mia, or Valerian. Buffs like [DEF+] and [DMG Taken-] are vital to survive this burst combo.
Combat Resolve – Instant Turn On Kill
Whenever an ally dies, Terrormaton gains an immediate extra turn, accelerating his rotation and potentially triggering more damage.
Counter Strategy: Avoid running glass cannon units. It’s safer to lean into survivability and damage-over-time (DoT) strategies. Revivers like Sania can help recover from mistakes.
Prepare for Battle – Immuntiy
Inferno Mode Only – At the start of battle, Terrormaton and his beast heads gain a 3-turn [Immunity] buff, preventing all debuffs, cooldown increases, or Turn Meter reductions.
Counter Strategy: Your opener should always involve a manual dispel. Units like Makoto, Heinrich, or Veronika are excellent here. Set them to manually use their Dispel skills before switching to auto mode.
Reform – Guarding Hand
This skill grants Terrormaton [DEF+] for 2 turns and increases his Turn Meter by 45%.
Counter Strategy: Debuffers like Kloss or Dinah can override the DEF+ effect with DEF- or DMG Taken+ debuffs.
Reform – Attacking Hand
This beast head skill targets the lowest HP enemy, dealing 360% damage while applying a 2-turn [DEF-] and [Wound] (which blocks healing). The lower the target’s HP, the higher the damage.
Counter Strategy: Always keep your lowest HP unit shielded. Wound can be devastating without proper sustain, so try to bring units that can extend buffs and time healing during windows when Wound isn’t active.
Best Teams for Early, Mid, and Late Game
Early Game (Normal to Hard)
Note: The 3-turn Immunity buff only applies in Inferno difficulty, so you won’t encounter it during Early or Mid Game stages.
In early stages, survivability and control are key. You likely don’t have full access to SSR units yet, so use the best available SR characters.
- DPS Options: Lian (free unit with AoE and Turn Meter steal), Fangus (solid DoT damage), Khloros (frequent follow-up attacks)
- Supports: Lily (SPD+ and buffs), Mia (shielding and minor dispel), Chiaki (ATK+ and Turn Meter push)
- Dispel Options: Makoto or Turandot (manual control required to use the correct skills)
Strategy: Focus on DoT and sustain. Since Immunity is not present in this phase, you can apply debuffs freely from the start. Use manual control only if timing skills or managing early survival turns.buffs and damage skills efficiently.
Mid Game (Nightmare to Hell IV)
Note: Terrormaton does not start with Immunity in this phase; you can apply debuffs freely from turn one.
By now, you should have a wider pool of characters, including a few SSRs and stronger SR supports.
- DPS Options: Sania [Vengeful Thorn] (DoT specialist who ignores DEF+), Victor (burst damage setups), Khloros (still viable)
- Supports: Gray (CRIT buff + DEF-), Freya (ATK+ and Turn Meter boost), Helkid (shields + ATK-)
- Dispel Options: Heinrich (dual-role), Veronika (steals buffs and shields team)
Strategy: Apply layered debuffs and optimize your action order. Time your dispels to remove DEF+ and Immunity just before unleashing burst skills.
Late Game (Inferno)
At this stage, the fight becomes more punishing and demands high-efficiency teams.
- DPS Options: Massiah (Light element, universal damage dealer), Victor (used in one-shot strategies), Sania + Fangus (DoT synergy)
- Supports: Beyontin (100% Turn Meter push and buffs), Kloss (DEF-, DMG Taken+, Speed down), Chiaki or Freya (for Turn Meter control)
- Dispel Options: Makoto (dispel on S1 and S3), Veronika (buff manipulation)
Strategy: Speed-tune your team to follow this order: Dispel > Buff > DPS. Avoid Odd-element characters due to Inferno penalties. Shells and high-rarity Modules become essential for surviving the damage spikes.
Farming Efficiency Tips
Terrormaton drops Modules, which are essential for optimizing your character builds. Focus your stamina on farming Red-rarity Modules. Avoid using resources on Blue or Green Modules, as you’ll quickly outgrow them. When upgrading Modules, limit investments to +3 or +6 unless the stats are ideal. Take advantage of Continuous Battle and configure target priority to eliminate Beast Heads strategically.
Final Thoughts
Defeating Terrormaton consistently is about understanding his mechanics and building a team that counters his skillset. Dispel support is non-negotiable, especially from Hell difficulty onward. Resist the urge to rush with raw damage and instead prioritize control, sustain, and proper buff/debuff management. Whether you’re climbing from Normal or grinding Inferno for endgame gear, following these strategies will ensure consistent, efficient wins and optimal Module drops.

